
Garmin Bow Sight Guides, Troubleshooting & Tips
How to Set Up a Garmin Bow Sight (Step-by-Step Guide for Perfect Accuracy)
How to Set Up a Garmin Bow Sight (Step-by-Step Guide for Perfect Accuracy):
Buying a Garmin bow sight is one thing.
Setting it up correctly is what actually determines your accuracy.
And here’s the truth most people don’t realize:
If your setup is wrong, your shots will be wrong—no matter how advanced the sight is.
That’s why this guide walks you through the exact step-by-step process to properly set up your Garmin bow sight for maximum performance.
The most common model used today is:
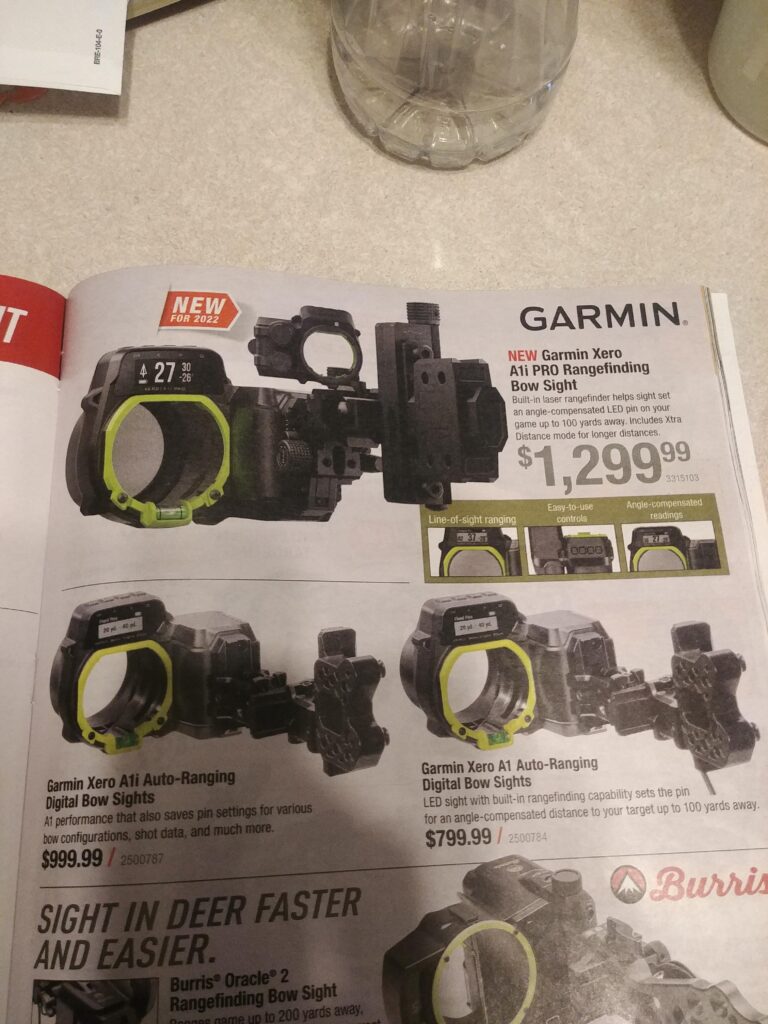
Garmin Xero A1i Pro Bow Sight
This guide applies to both the A1i Pro and A1 models.
Why Proper Setup Matters
Garmin bow sights rely on:
-
Distance measurement
-
Ballistic calculations
If your input data is off:
Your aiming point will be inaccurate
That means:
❌ Missed shots
❌ Poor grouping
❌ Frustration
What You Need Before Setup
Before you start, make sure you have:
-
Your bow properly tuned
-
Consistent arrows
-
Known draw weight
-
Approximate arrow speed
Consistency is key.
Step 1: Mount the Sight Correctly
Start by attaching the sight securely to your bow.
Tips:
-
Ensure it’s level
-
Tighten screws properly
-
Avoid over-tightening
A loose sight = inaccurate shooting
Step 2: Align the Sight (Leveling)
This is one of the most overlooked steps.
Make sure:
-
Your bow is vertical
-
The sight bubble is centered
Even small misalignment affects accuracy at longer distances.
Step 3: Create Bow Profile
The Garmin system needs your setup data.
Input:
-
Arrow speed (FPS)
-
Arrow weight
-
Draw length
This helps calculate trajectory.
Step 4: Initial Calibration (Critical Step)
This is where many people mess up.
Process:
-
Shoot at a known distance (e.g., 20 yards)
-
Adjust until your arrows hit center
-
Repeat at multiple distances
The system learns your shooting pattern.
Step 5: Fine Tuning
After initial setup:
-
Test at different distances
-
Adjust micro-settings
-
Ensure consistency
This step separates average from elite accuracy.
Common Setup Mistakes
❌ Rushing calibration
❌ Using inconsistent arrows
❌ Ignoring bow tuning
❌ Skipping practice
These will ruin performance.
Testing Your Setup
Once everything is set:
-
Shoot at 20, 30, 40, 50 yards
-
Check grouping
-
Verify consistency
Your arrows should land predictably.
Battery Check
Before using in the field:
-
Ensure full charge
-
Carry backup
No battery = no system
Pro Tips for Best Results
-
Practice regularly
-
Recalibrate if changing arrows
-
Keep settings consistent
Setup vs Traditional Sight
Traditional sights:
-
Easier to set up
-
Less accurate at distance
Garmin:
-
More setup required
-
Much higher accuracy potential
Is Setup Worth the Effort?
Yes—100%
Once properly set:
-
Easier aiming
-
Faster shooting
-
Better results
-
Garmin bow sight review
-
Accuracy test
-
Best Garmin bow sight
Setting up your Garmin bow sight properly is the difference between:
Wasting money
Or unlocking elite-level accuracy
Take your time—and the results will show.